Hey there girls !! Now m a huge fan of granny squares .The proof ??? you can find it here here and here. this time I went ahead and made a huge granny square bag.
 Now this one is floating a lot on pinterest so I thought why not make one myself ....
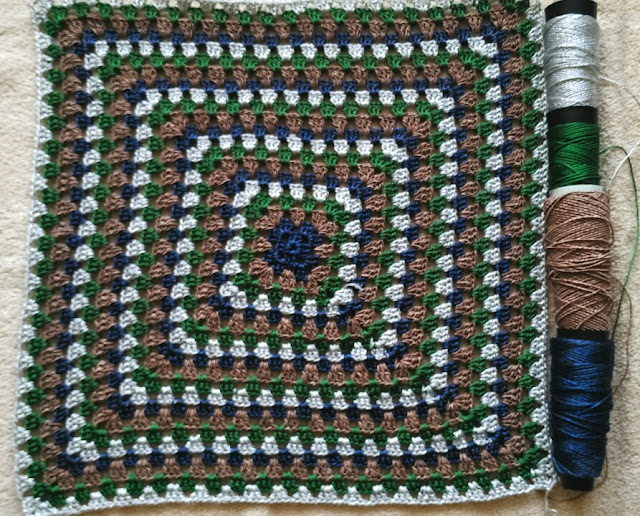
Now ,Instead of making many grannies, you need just one huge square of 21 rows
I've made a stripes version instead of the traditional square . Feel free to make any of your own.
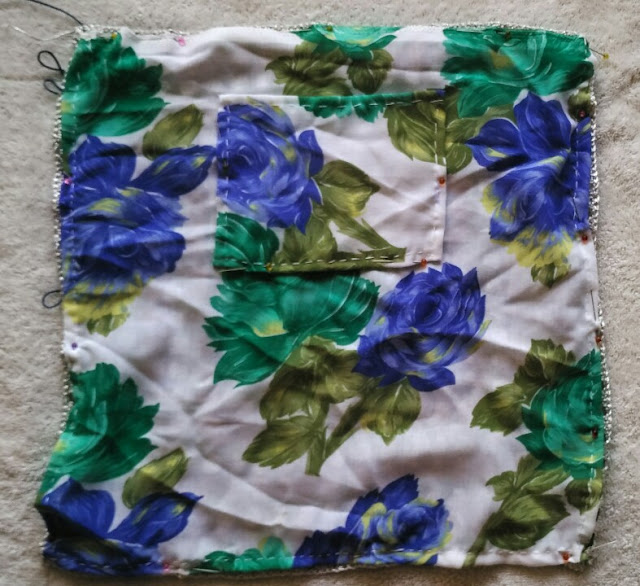
 Now line your bag at this stage .Cut a square piece of cloth the size of your square and sew the sides . Cut another piece of cloth for the pocket and sew it on the right side of the lining.
 With right side facing up start attaching the lining with whip stitch .
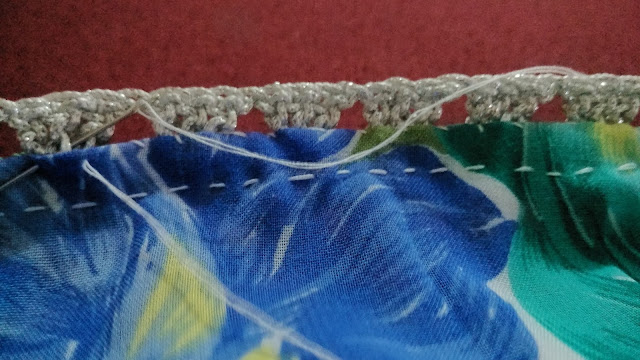 You can sew it with a sewing machine also , thats totally up to you. Moving on, start decreasing to make a bag !!! I sc 2 together all the way around

 . At this stage it might look like you've lost it. Coz thats what I thought . It was just another piece of square for me and after 1 row of decreasing it just didn't look what i had in mind .
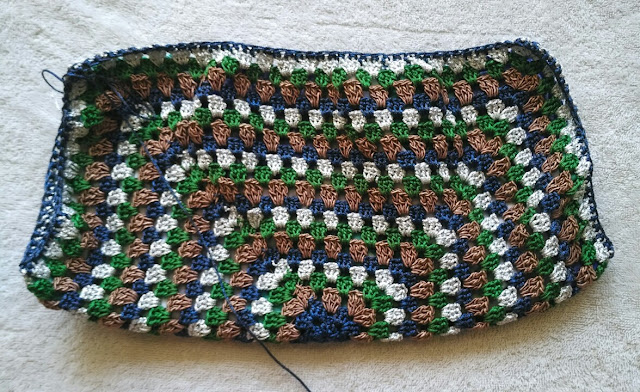 Anyways I went ahead bravely and did 1 more round of decrease in every second st. (1sc 2sctog in the second and third st ) and voila out comes the bag !!!
 Now we just have to maintain the shape of the bag so what I've done is work 5 row of sc all the way around
The handles
feel free to use any readymade ones ,for my version follow on:
count chain 4 from one of the corners of the mouth and simply crochet back and forth till you want the desired length .Now slip st to the other mouth of the same side.do not fasten off continue with sc around till you reach the flip side of the bag . again count chain 4 and continue with the pattern slp st to the other mouth on the same side . sc till you reach the beginning of this round fasten off.
Embellish with some flowers and you are ready to go girl !!!!
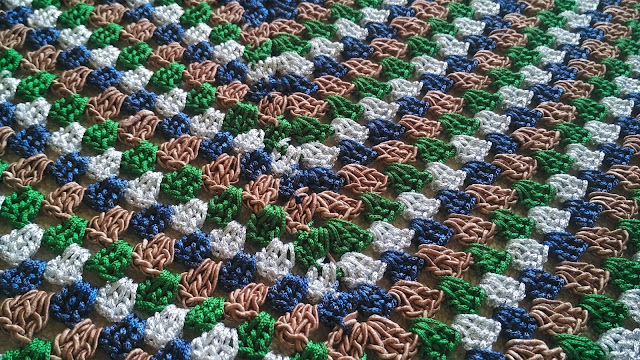

Now ,Instead of making many grannies, you need just one huge square of 21 rows
I've made a stripes version instead of the traditional square . Feel free to make any of your own.


The handles
feel free to use any readymade ones ,for my version follow on:
count chain 4 from one of the corners of the mouth and simply crochet back and forth till you want the desired length .Now slip st to the other mouth of the same side.do not fasten off continue with sc around till you reach the flip side of the bag . again count chain 4 and continue with the pattern slp st to the other mouth on the same side . sc till you reach the beginning of this round fasten off.
Embellish with some flowers and you are ready to go girl !!!!

No comments:
Post a Comment